Learn how to effectively fix a door closer leaking oil with this step-by-step guide, ensuring safety and proper functionality.
Oil leaking from a door closer is a serious issue. Ignoring this can lead to malfunction, damage, or even safety risks. So when you notice oil dripping from your door closer, it’s essential to act quickly. This guide walks you through the reasons why, signs to watch for, and most importantly—how to fix it.
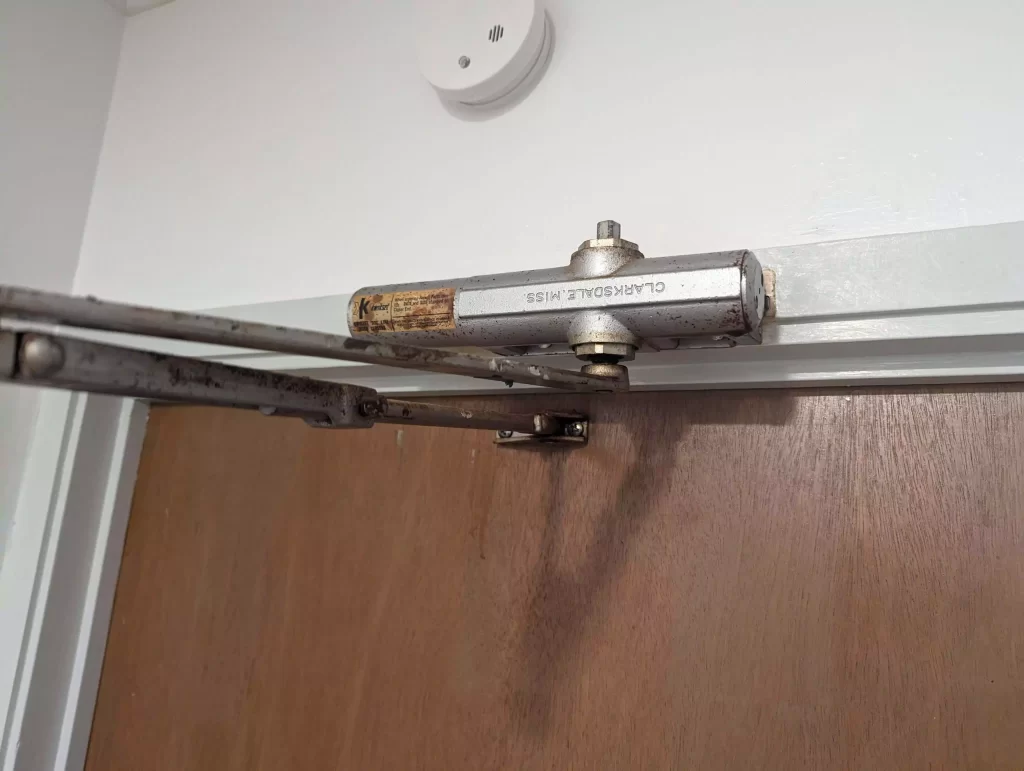
Oil leakage typically happens due to internal damage or wear and tear in the hydraulic system of the door closer. It’s not something random—it indicates a real problem. Door closers use oil to regulate speed and closing force, so if it’s leaking, it’s likely that some internal seals are faulty or the closer is simply too old.
Expect loss of functionality when oil leaks. The door might slam shut, won’t close properly, or become difficult to operate. Leaks also affect the door closer’s longevity by straining other components.
How do you know it’s time to consider repairs or a replacement? Simple:
At this stage, the more you delay, the more damage occurs. Luckily, door closers are repairable if you catch the leak early enough.
Here is a step by step guide on how to fix oil leaking from door closer:
| Step | Action | Tools Needed |
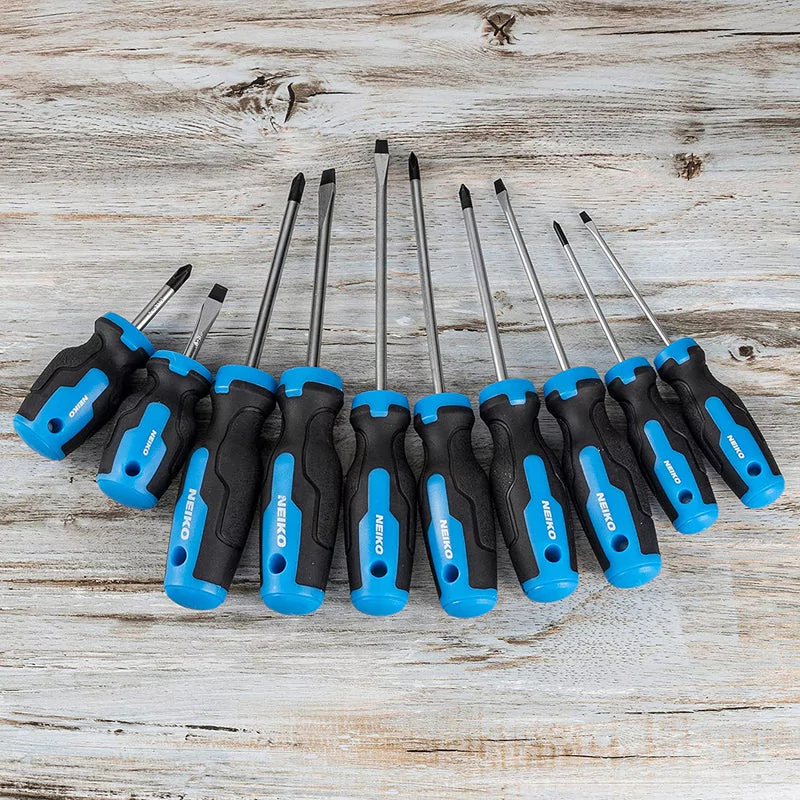
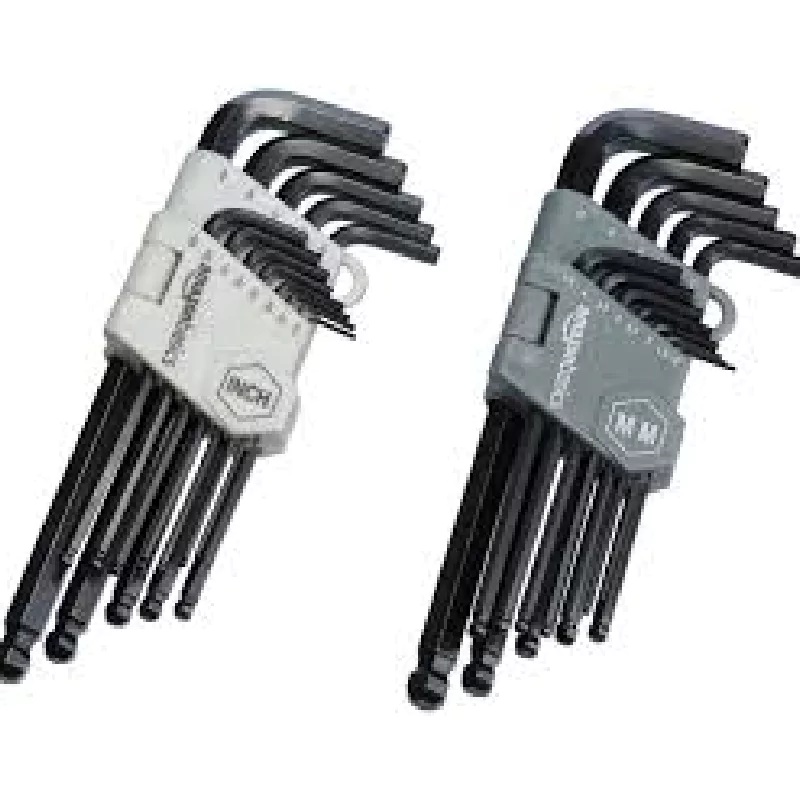
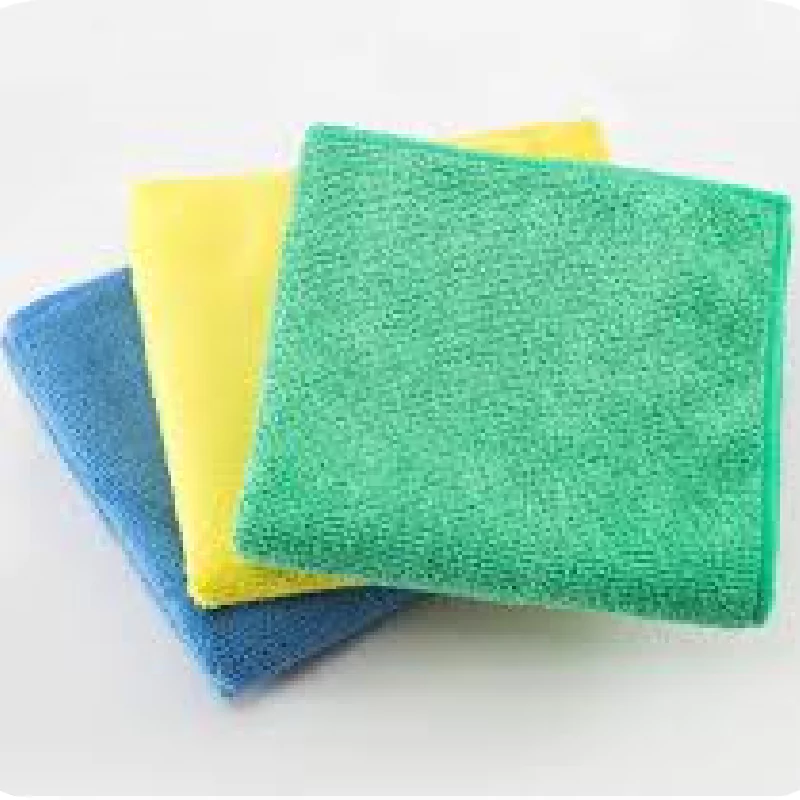
| 1. Gather Your Tools | Collect necessary tools and materials: screwdriver set, Allen wrench set, new seals/gasket, hydraulic oil, cleaning cloth | Screwdriver (Phillips/flathead), Allen wrench, new seals/gasket, hydraulic oil, cleaning cloth/disposable towels |
| 2. Shut the Door | Fully close the door to prevent any further oil leakage while working on the closer. | None |
| 3. Remove the Cover or Plate | Remove the door closer’s cover plate using a screwdriver or Allen wrench to access the internal mechanism. | Screwdriver (Phillips/flathead) or Allen wrench |
| 4. Inspect for Leaks/Damage | Check for damaged seals or worn components. Gently clean oil with a cloth to avoid contamination during the repair. | Cleaning cloth or disposable towels |
| 5. Replace or Reseal Components | Replace damaged seals or gaskets with new ones, ensuring a snug fit to prevent future leaks. | New seals/gaskets, screwdriver, Allen wrench |
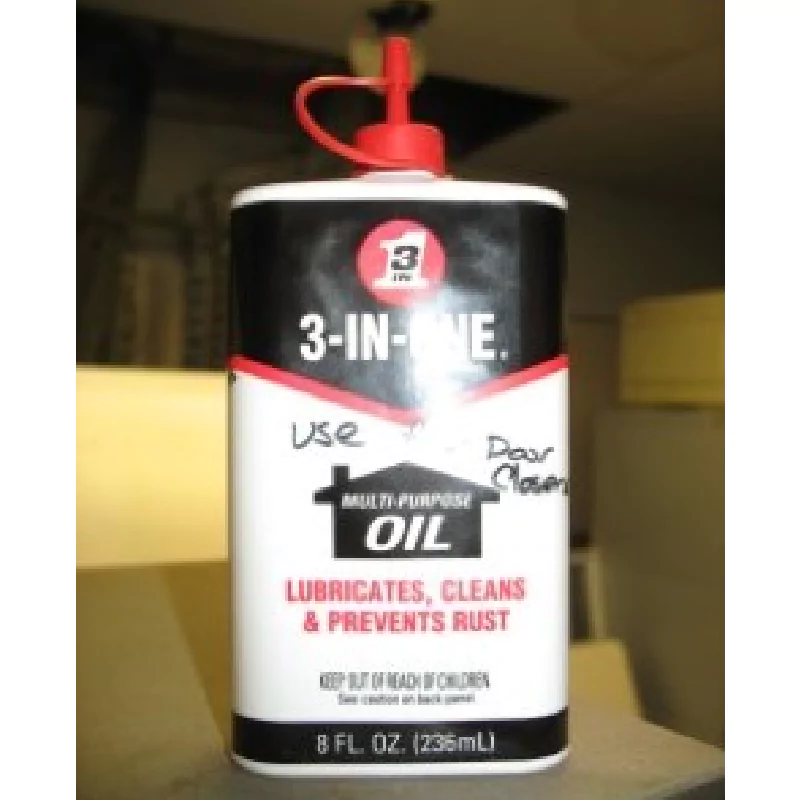
| 6. Add New Oil | Refill the door closer with hydraulic oil to the recommended levels for smooth operation. | Hydraulic oil (specific for door closers) |
| 7. Test the Door Closer | Open and close the door several times to check for leaks and adjust swing and latch speed if necessary. | None (adjustment tools like screwdriver/Allen wrench may be needed for fine-tuning settings) |
Before diving into the fix, it’s critical to have the right tools available. You’ll need:
Start by fully closing the door. You’ll be working on the closer while it’s stationary, preventing any further oil leakage during your repair.
Use a screwdriver or Allen wrench (depending on your model) to remove the cover plate of the door closer. Exposure to the internal mechanism will give you a clearer look at the leak source.
Look for obvious signs of damage or broken seals. If the oil leakage stems from deteriorated seals, then replacing these could solve the issue. Gentle cleaning of the oil with a cloth is recommended to avoid contamination during the repair.
Now, this step depends on how severe the leakage is. If seals have failed, you’ll need to remove them carefully and install replacements. Ensure the replacements fit snugly to avoid future leaks—reinforcing the hydraulic chamber. If the wear is too extensive, you might need to replace the entire door closer.
Once the old gasket or seals are replaced, refill the door closer with hydraulic oil, keeping it within recommended levels to ensure smooth functionality. Make sure you’re using the correct hydraulic oil, designed specifically for door closers—not standard lubricants.
After securing all components, try opening and closing the door a few times to confirm the issue is resolved. Watch closely for any further leaks and inspect general functionality. Make adjustments to the closer’s settings if necessary, ensuring proper swing and latch speed.
If you’ve followed these steps and the door closer operates correctly, congratulations—you’ve resolved a potentially annoying issue! If the damage was too severe to repair, it’s time to consider replacing the unit altogether.
What to do next? Regularly check your door closer to prevent the issue from recurring. And if you’re uncertain or the leak persists, it’s always a smart choice to consult a door closer expert or technician.
Having trouble fixing it yourself? Cn-oude offers high-quality door closers that are reliable, easy to install, and affordable.


